What We Do

Built for the Enterprise. Wired for What’s Next
We partner with enterprise teams to reduce marketing complexity, accelerate time-to-value, and maximize return on Adobe investments.
With certified Adobe expertise, sprint-tested processes, and frameworks like HashFirst™, HashBuild™, and HashMetrics™, we help brands move from proof of concept to proof of performance with speed. Whether it’s web platforms, campaign orchestration, or commerce personalization, we don’t just launch digital experiences. We launch confidence.

PARTNER SINCE 2017
We scale Businesses. We create Clarity.
For those Building Big, We’ve Built Across the Globe


Our Impact

"Hashout did a great job capturing all the functions we were looking to have in the solution. I will highly recommend Hashout to any organization looking for a complex data tracking/reporting project."

"Hashout is an integral part of our team and our success. They listen to our core requirements and use cases and make smart decisions about design and development that enable us to scale tremendously. Everyone on Hashout’s team is stellar and they do all they can to ensure they drive a great experience for our customers.”


“We never felt like Hashout was a vendor; we felt like they were an extension of our team. They delivered on all their promises, even when we made scope changes. The Hashout team was cooperative, able to take on that challenge, and still delivered the website ahead of schedule.”

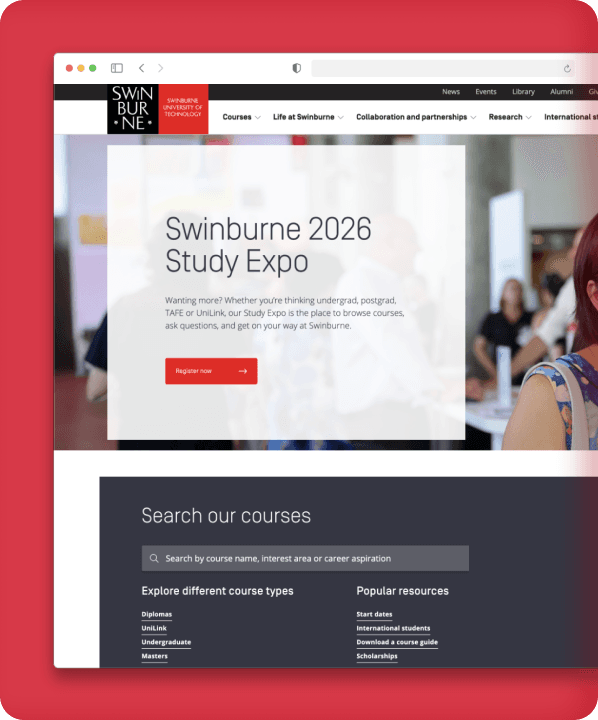
"Hashout has been an invaluable partner, providing the technical expertise and support necessary to scale our digital capabilities. They’ve helped us optimize our use of Adobe solutions, deliver key projects like Open Day and implement a PWA POC within our existing tech stack—all while maintaining cost-effectiveness and high-quality results.”

Delivered with Precision Across Sectors


You’ve got questions